Build your first DAG
This is a hands-on tutorial. By the end you will have authored and run a
three-task pipeline — an extract → transform → load ETL that passes data
between tasks — and watched it go green in the Airflow-compatible UI.
You do not need to understand every concept up front; follow the steps in order and it will work. The explanations come as you go.
Finish the Quickstart first. You need Leoflow Lite
installed and the leoflow command on your PATH (leoflow version should
print a version). If leoflow lite is still running from the Quickstart, press
Ctrl-C to stop it — you will start it again in step 5.
1 · Scaffold a project
A Leoflow DAG project is just a directory with two files: dag.py (your
pipeline) and leoflow.yaml (how to package it). leoflow init creates that
pair for you:
leoflow init taskflow_sales
Initialized Leoflow project "taskflow_sales" in taskflow_sales

Next steps:
  leoflow validate taskflow_sales    # quick syntax check
  leoflow lite taskflow_sales        # run it locally with the embedded scheduler
The dag_id is taken from the directory name — taskflow_sales. Look inside:
ls taskflow_sales
# dag.py  leoflow.yaml
The scaffold is a one-task “hello” DAG. In the next two steps you will replace it with the real pipeline.
2 · Write the pipeline
Open taskflow_sales/dag.py and replace its contents with this:
"""taskflow_sales — a pure TaskFlow ETL passing data via XCom (no deps)."""
from __future__ import annotations

from airflow.sdk import DAG, task


@task
def extract() -> list[dict]:
    # A deterministic synthetic dataset (no I/O, so the example always runs).
    return [{"region": ["N", "S", "E", "W"][i % 4], "amount": (i * 37) % 1000} for i in range(1000)]


@task
def transform(rows: list[dict]) -> dict:
    by_region: dict[str, int] = {}
    for r in rows:
        by_region[r["region"]] = by_region.get(r["region"], 0) + r["amount"]
    print(f"transform: {len(rows)} rows -> {len(by_region)} regions")
    return by_region


@task
def load(totals: dict) -> None:
    top = max(totals, key=totals.get)
    print(f"load: totals {totals}; top region {top} = {totals[top]}")


with DAG("taskflow_sales", schedule=None, catchup=False, tags=["example"]):
    load(transform(extract()))
What you just wrote, top to bottom:
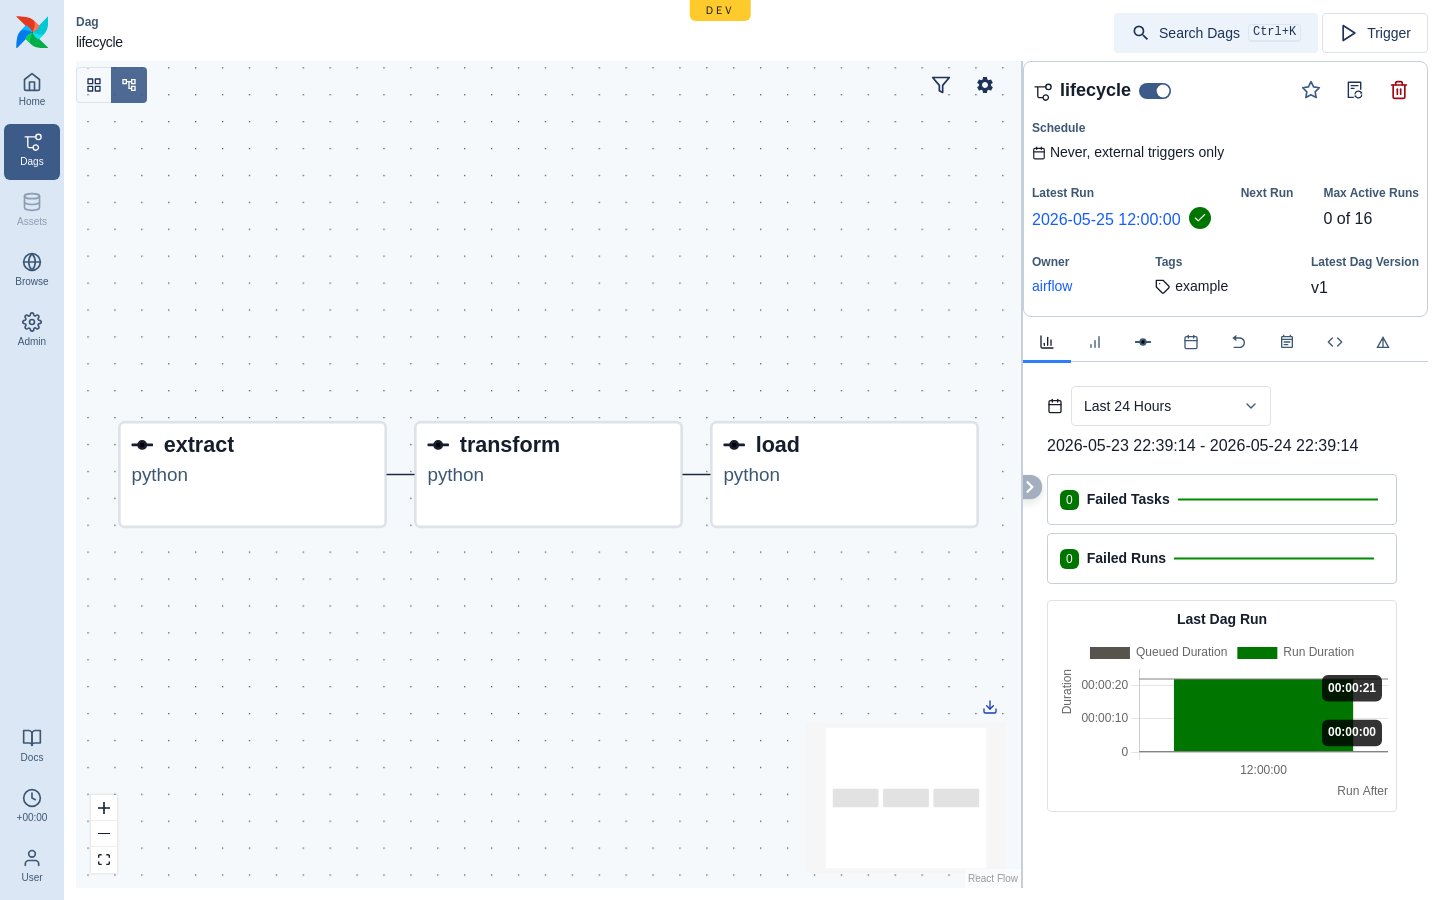
from airflow.sdk import DAG, task— Leoflow runs the standard Apache Airflow Task SDK. Your DAG source is ordinary Airflow 3 code.@taskturns a plain Python function into a task. Its return value is pushed to XCom automatically, and when you pass one task’s result as the argument to another, Leoflow pulls it back — that is the entire data-passing model here, no explicit XCom calls.with DAG(...)declares the DAG.schedule=Nonemeans it only runs when you trigger it (perfect for a tutorial);tags=["example"]groups it in the UI.load(transform(extract()))is the wiring. Reading it inside-out gives the dependency chainextract → transform → load; Leoflow builds the graph from those calls — you never draw edges by hand.
3 · Declare packaging
Open taskflow_sales/leoflow.yaml and make it match this. It tells Leoflow how to
build the DAG’s image — here, nothing beyond a Python version, because the pipeline
has no third-party dependencies:
schema_version: "1.0"
dag_id: taskflow_sales
description: Pure TaskFlow ETL passing data via XCom (no external deps).
owner: examples
tags:
  - example
python_version: "3.11"
dependencies: []
If your pipeline imported a library (say pandas), you would add it under
dependencies: and Leoflow would bake it into the image. See
Configuration for every key.
4 · Validate it
Before running, check the project parses and matches the schema:
leoflow validate taskflow_sales
A clean run prints no errors. If you mistyped something in leoflow.yaml or
dag.py, this is where you find out — fix it and rerun until it passes.
5 · Run it
Start Lite pointed at your project:
leoflow lite taskflow_sales
Lite brings up its datastore, registers the DAG, and prints where to go:
✓ Leoflow Lite is ready
    open:    http://127.0.0.1:8088
    login:   admin@leoflow.local
    project: /path/to/taskflow_sales
Leave it running — it hot-reloads every time you save dag.py.
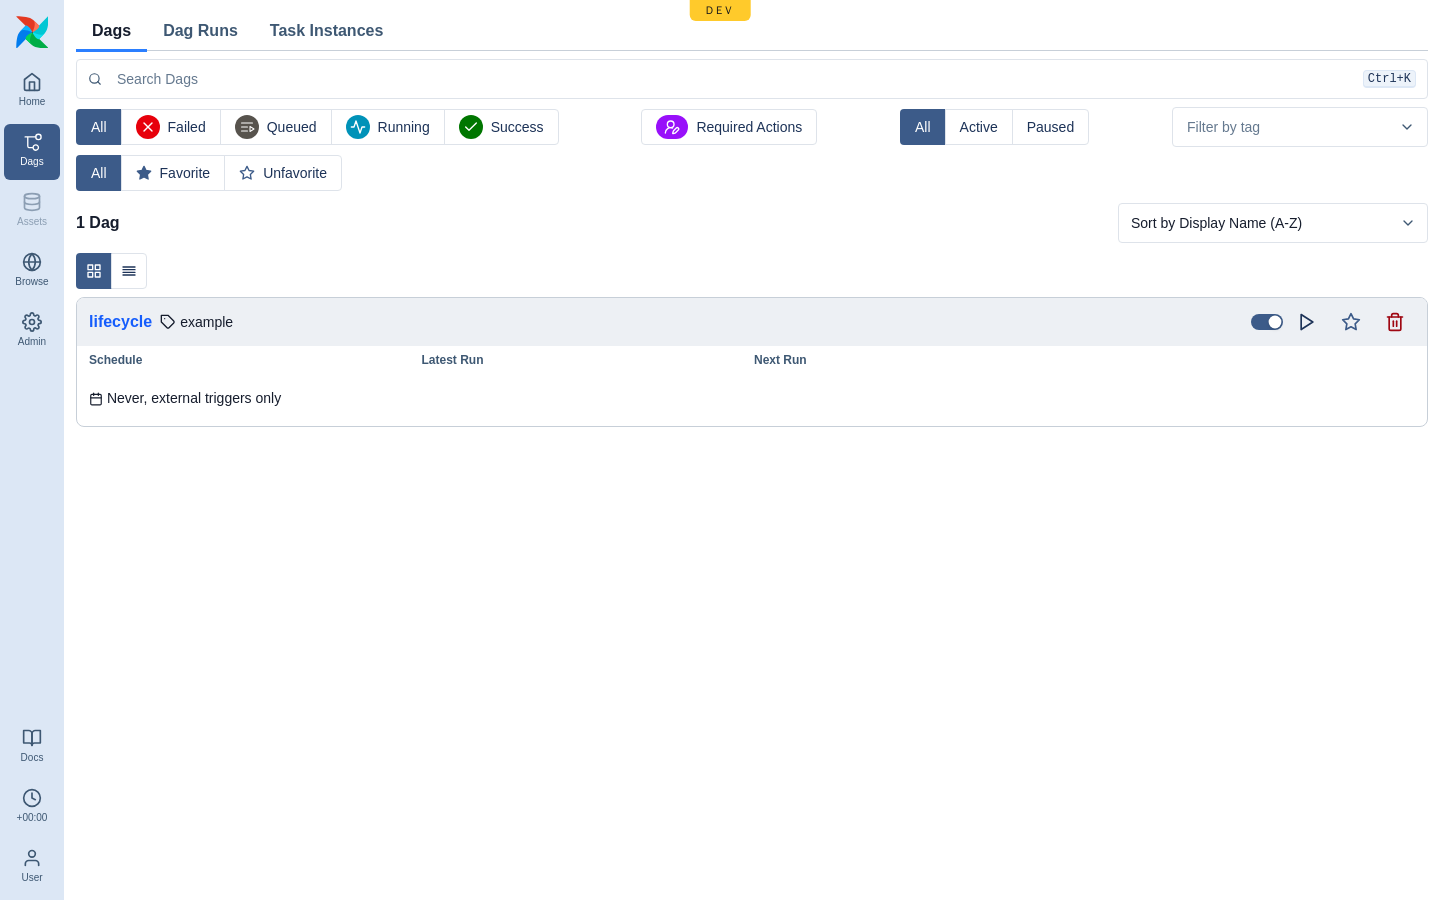
Open http://127.0.0.1:8088, log in (the password is the one Quickstart printed;
leoflow lite reset-password resets it), and taskflow_sales is in the Dags
list.
6 · Trigger your first run
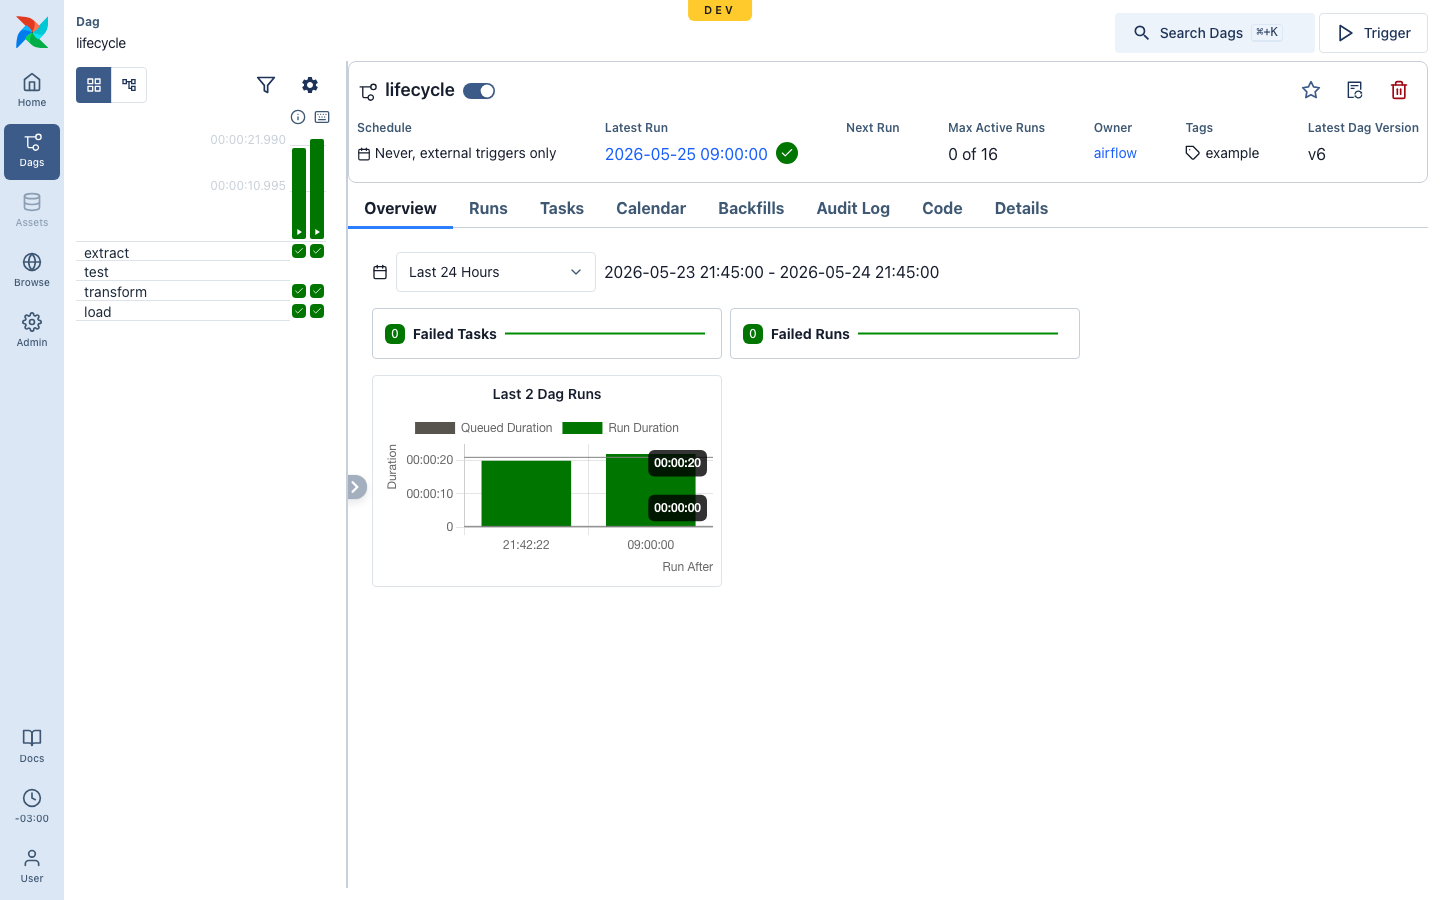
- Click taskflow_sales to open it.
- Press ▶ Trigger (top-right). Because
schedule=None, this manual trigger is the only way it runs. - Watch the grid: each task cell goes yellow (running) then green (success).
A fully green column is a successful run —
extract, thentransform, thenload.
Switch to the Graph view to see the same run as the dependency chain you wrote:
7 · See the data flow
The pipeline printed as it ran. Click the transform task cell, open its
Logs, and you will see:
transform: 1000 rows -> 4 regions
Then the load task’s logs show the totals it received from transform — the
dict that travelled over XCom:
load: totals {'N': ..., 'S': ..., 'E': ..., 'W': ...}; top region ... = ...
That is the whole point of TaskFlow: extract returned a list, transform
received it and returned a dict, load received that dict — each hand-off is an
XCom, and you wrote none of the plumbing.
8 · Break it on purpose
One last thing worth seeing, because you will hit it for real: what a mistake
looks like. With leoflow lite still running, add a deliberately broken import to
the top of dag.py and save:
import this_module_does_not_exist
Within a second or two the UI shows an import-error banner on the Dags page — Leoflow could not load the file, and it tells you exactly why instead of silently dropping the DAG:
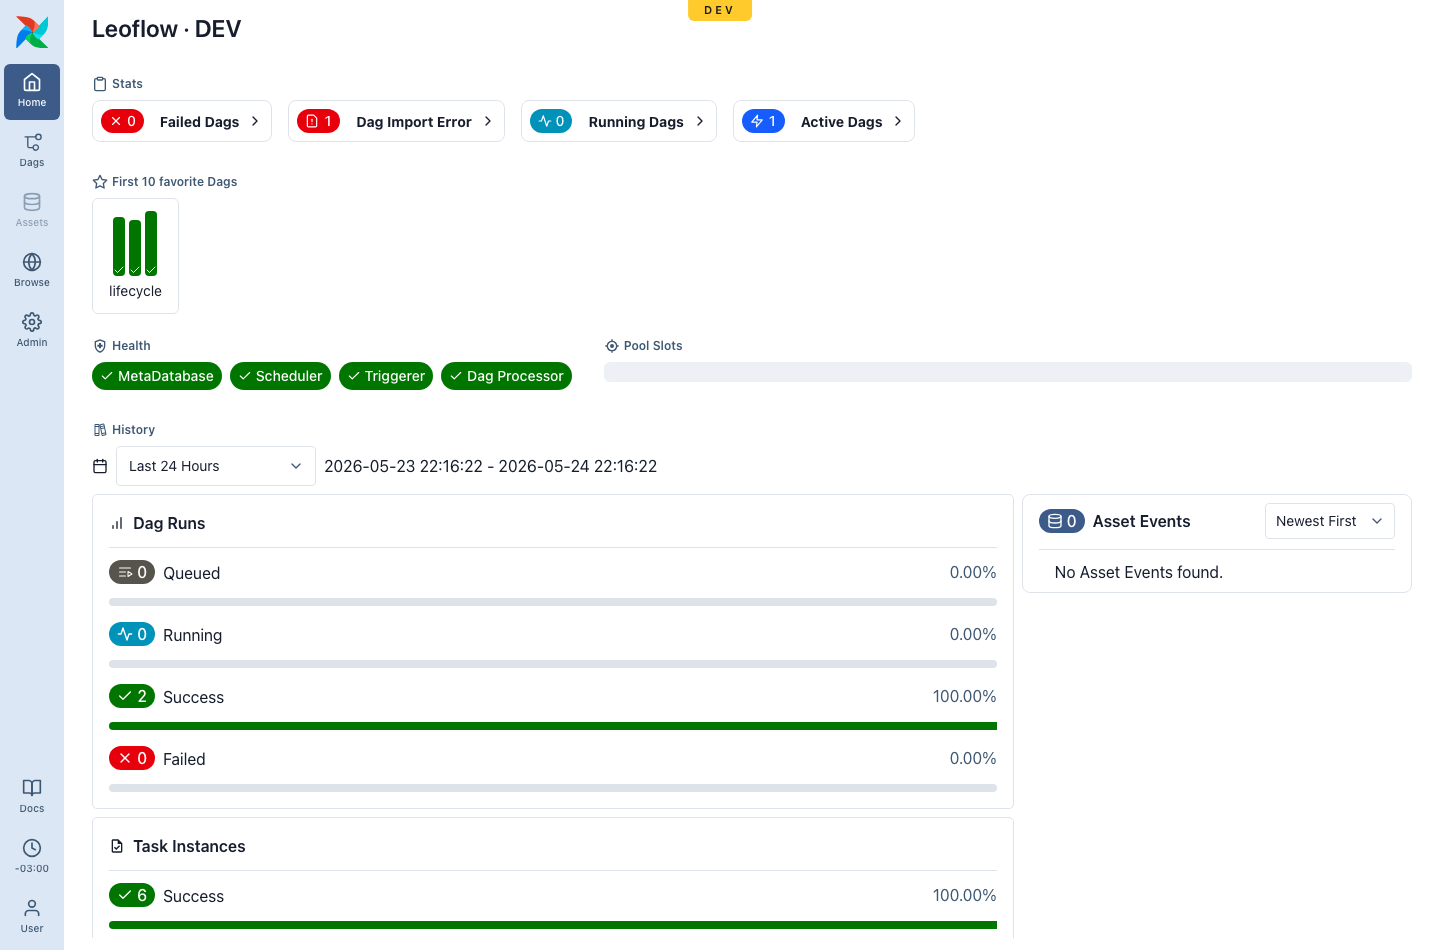
Click it for the full traceback:
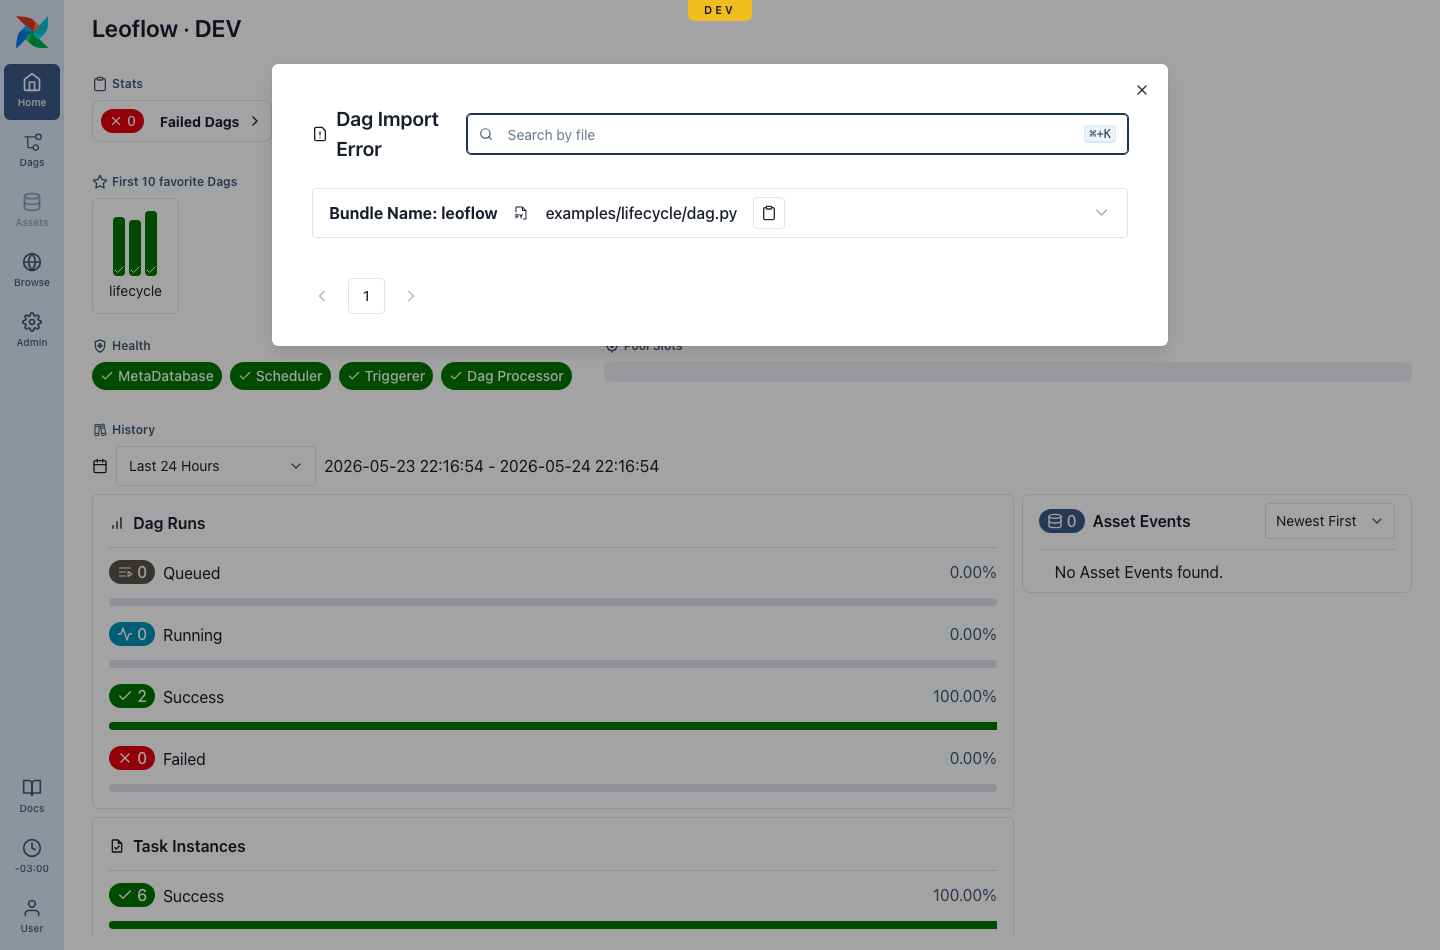
Delete the bad line, save, and the banner clears as the DAG reloads. Press Ctrl-C in the terminal to stop Lite when you are done.
What you learned
- A DAG project is
dag.py+leoflow.yaml;leoflow initscaffolds the pair. - Tasks are
@taskfunctions; returning a value and passing it to another task moves data over XCom with no boilerplate. - The call graph is the dependency graph —
load(transform(extract())). leoflow validatecatches problems before you run;leoflow literuns it and hot-reloads so authoring is a tight edit-save-watch loop.
Next
- DAG authoring — the full dialect, the override
layers, and everything
leoflow.yamlcan express. - The Lite web editor — edit
dag.pyin the browser instead of a local editor. - Examples — more runnable DAGs, including this one, to copy and adapt.
- CLI reference — every
leoflowcommand and flag.